This chapter explains the options for the shift calendar.
Contents
Determine a reference day
In the Shift Calendar section, the Simulation start date is displayed (read-only) and you can select a Reference day for the shift calendar via a dropdown menu (see Figure 1).
The reference day defines which calendar day is used for the static key figure calculations.
The overview table shows the columns First working day and Working time (reference day) for each calendar.
The latter displays the calculated daily working time on the reference day in hours (e.g. "12 h"). If the working time is 0 hours, a warning symbol is shown.
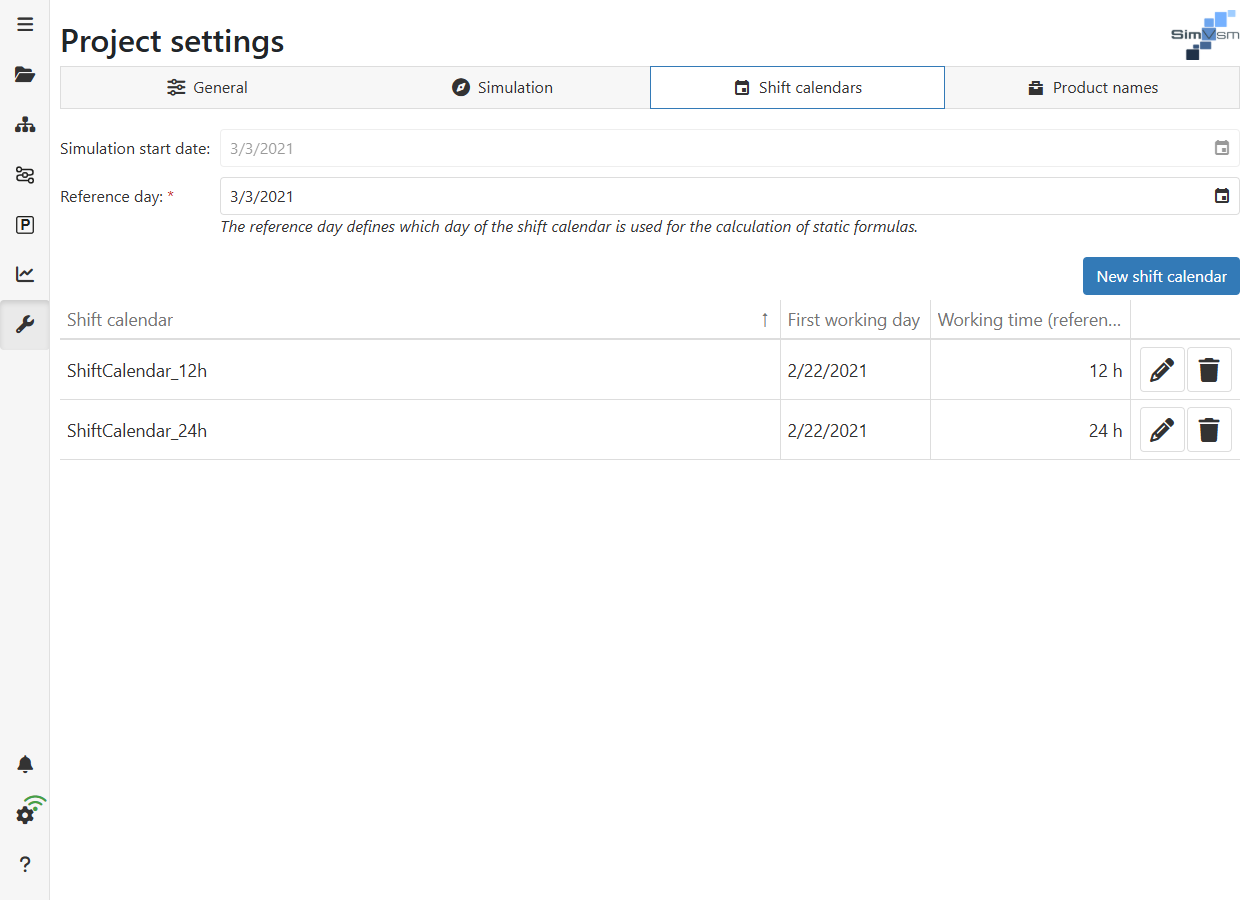
Figure 1 - Shift calendar overview
Shift calendar comparison
The Overview button can be used to display a shift calendar comparison of all shift calendars that have been created. The view can be enlarged/reduced using the mouse wheel/zoom gestures.
Figure 2 - Shift calendar comparison |
Figure 3 - Shift calendar comparison zoom |
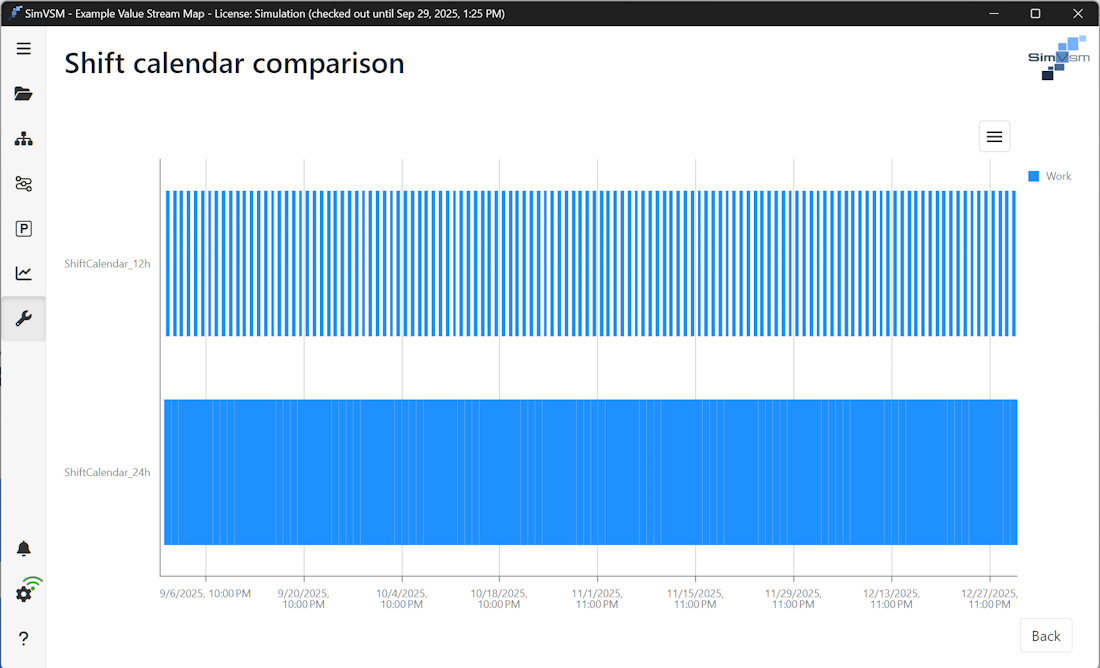
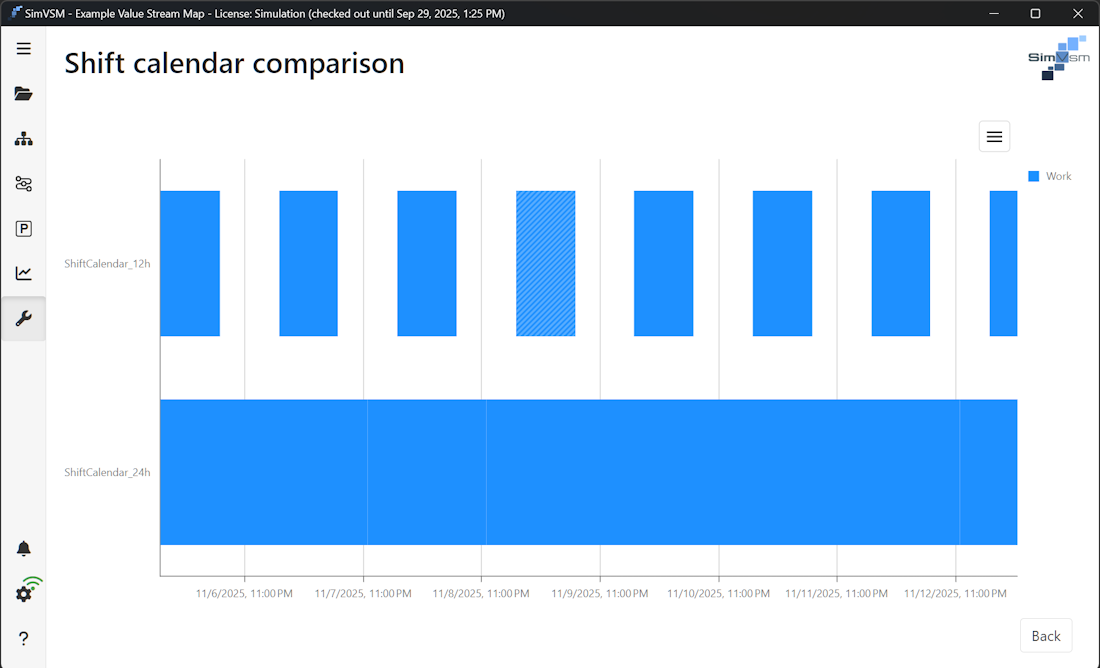
Figure 4 shows how to create a new shift calendar (click on the New Shift Calendar button). First, you must assign a name to the shift calendar.
You can then choose whether or not to transfer initial entries from other calendars when creating the calendar. Clicking on Create creates a new shift calendar with the selected options.
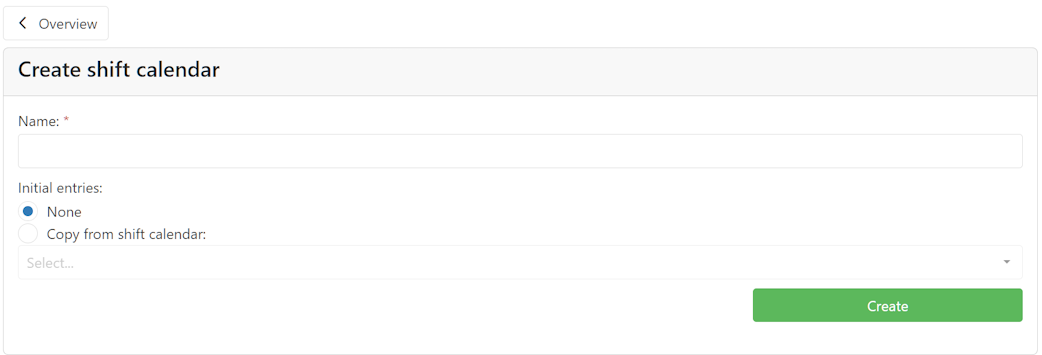
Figure 4 - Creating a new shift calendar
To edit the name of a shift calendar or to delete it, you can use the two buttons |
|
and |
|
at the end of the line of the respective calendar. |
If an attempt is made to delete a shift calendar that is currently still in use, the following message is displayed:
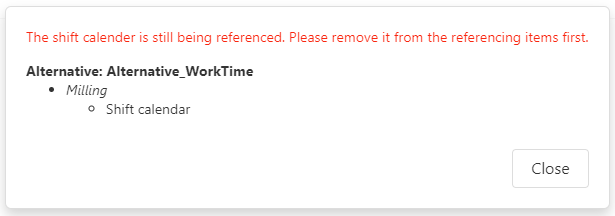
Figure 5 - Deleting shift calendar
To define the times for the shift calendar, click on the name of the respective calendar. This opens the detailed view of the respective calendar (see Figure 6).
The week view initially opens on the week of the reference day (instead of the current week). The reference day is highlighted in the week header with a green background and labeled "(Reference day)".
Additionally, the planned working time for each day is shown below the day name (e.g. "Planned: 12 h").
1. Clicking in the middle of the button opens a date picker, which can be used to select a specific day/month/year directly.
Clicking on the left/right arrow keys allows you to jump forwards or backwards by days/weeks or months, depending on the settings.
2. The drop-down menu can be used to display the shift calendar in a daily, weekly, or monthly view.
3. The calculated total working time is displayed here, depending on the selected view (days/weeks/months). In addition, the selected working time is calculated in the month view by selecting several days (see Figure 6).
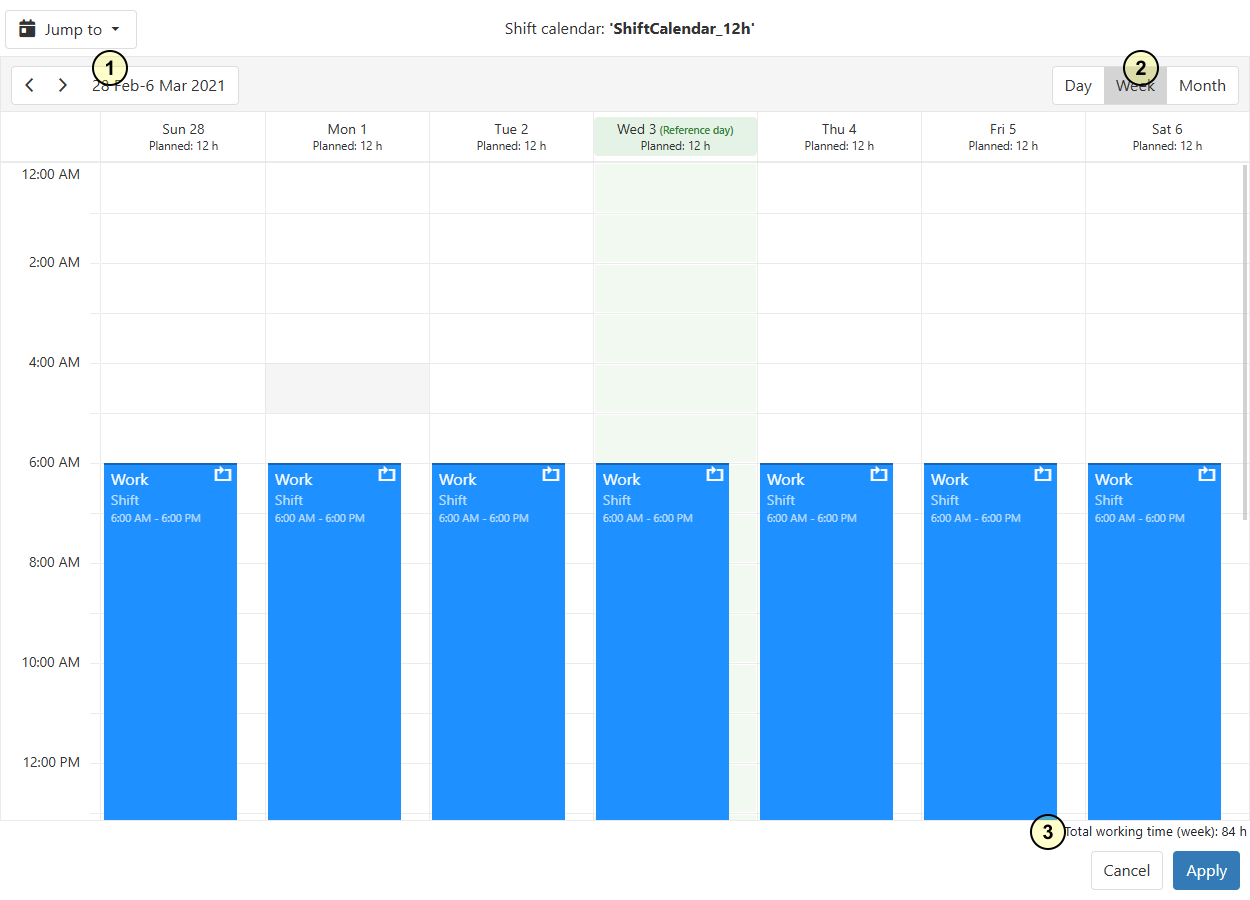
Figure 6 - Defining times for the shift calendar
Quick navigation
Using the Jump to button in the toolbar, you can quickly navigate to the Reference day or to today's date (Today).
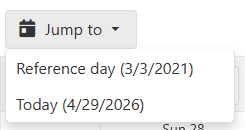
Figure 7 - Quick navigation to Reference day or Today
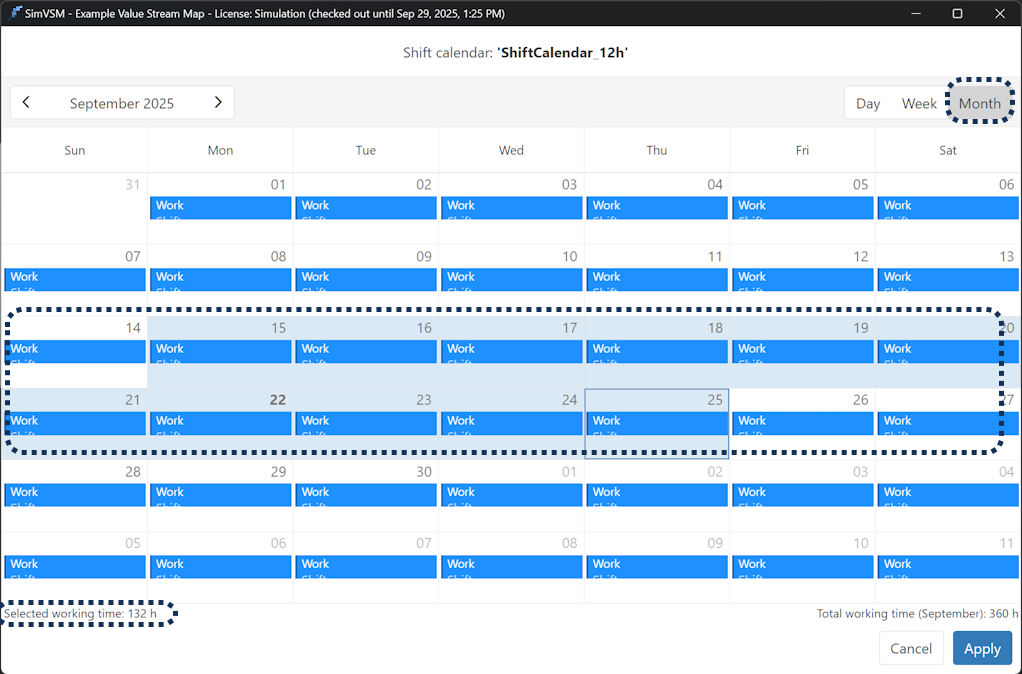
Figure 8 - Monthly view
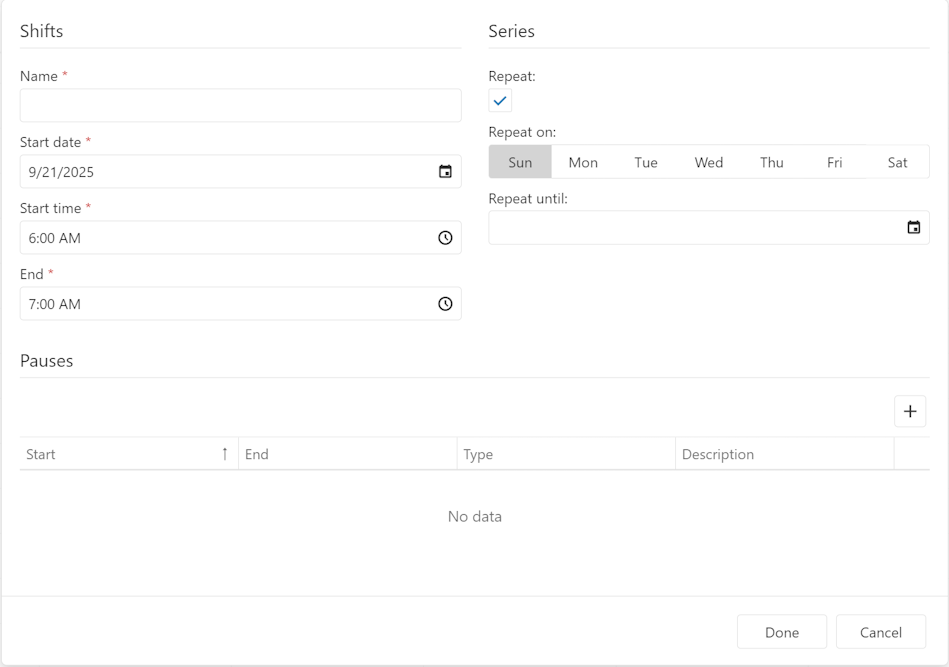
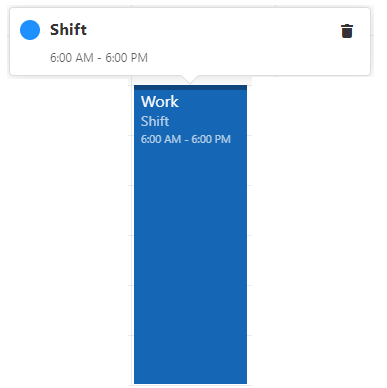
Double-clicking on an entry or on a free area opens a dialog for creating/editing an entry. A single click opens a context menu to delete the entry (see Figures 9 and 10).
Figure 9 - Create calendar entry |
Figure 10 - Delete existing calendar entry |
|
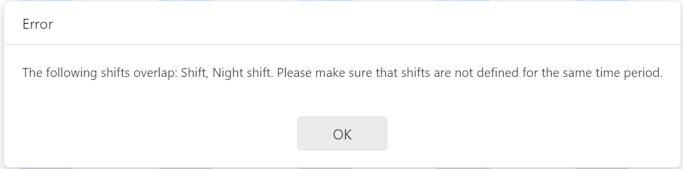
Warning: It is not possible to enter overlapping layers in the calendar.
Figure 11 - Error overlapping layers |
© SimPlan AG - Hanau District Court, Commercial Register (Part B) 6845 - info@simplan.de - www.simplan.de/en