This chapter describes and explains the login window and the login process of the application. Login is via the cloud login service used (Azure in this example).
Once the username and password have been entered, you can select from the available license types and start the application by clicking on Start.

Figure 1 - Login process
If an initial login fails due to an unavailable server, the connection information to the server must be checked and the administrator notified if necessary.
The server address can be adjusted in the options in App settings (global).
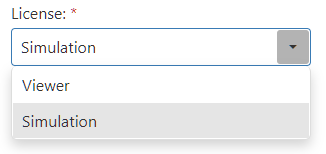
The desired license can be selected via the “License” dropdown (see Figure 2). Depending on the selected license type, different permissions are enabled in the app.
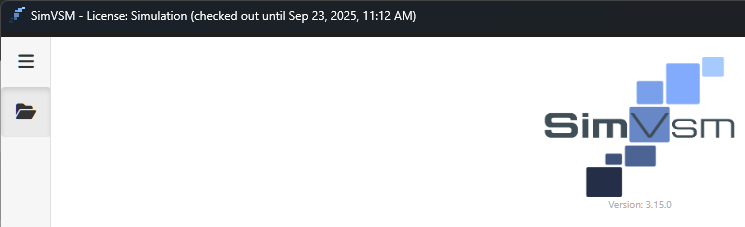
After logging in, the selected license and the expiration date are displayed in the title bar of the application (see Figure 3).
|
Note: When using floating licenses and license servers, a user can only be logged in once at the same time (cross-device). |
Figure 2 - Choose license |
Figure 3 - License type and expiration date |
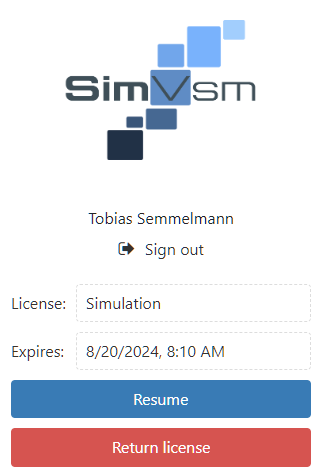
When closing the application, the user is asked if he wants to return the currently used license.

Figure 4 - Return license
If the application is closed without returning the borrowed license, the dialog shown in Figure 5 appears when the application is reopened.
If there are not enough licenses available, the user is also informed (see Figure 6).
Figure 5 - Reuse license |
Figure 6 - Not enough licenses available |

© SimPlan AG - Hanau District Court, Commercial Register (Part B) 6845 - info@simplan.de - www.simplan.de/en