This chapter describes how to create, copy and delete alternative models.
|
Note: Since version 3.15 alternatives from other projects can be imported into an existing project. |
Contents
1. Creating and importing alternatives
4. Set alternative as reference
1. Creating and importing alternatives
In order to create a new alternative to modeling, a new project must first be created or an existing project loaded.
To create a new alternative first press the Alternatives Button |
|
in the menu bar. |
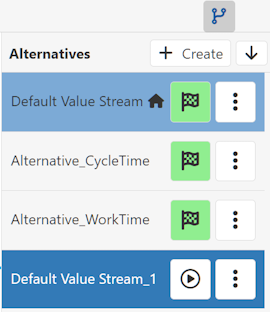
The window for creating an alternative then opens on the right edge of the application. From here, you can also switch to alternatives that have already been created (see Figure 1).
The alternatives displayed here can be moved and rearranged with the mouse using drag & drop
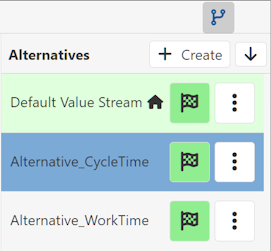
Figure 1 - Alternatives side bar
The following table explains how the buttons in the Alternatives window work:
Button |
Description |
|
The Create button opens a new window in which you can choose between “Copy active alternative” and “Create empty alternative” (see Figure 2). |
|
The Import button opens a dialog box that allows alternatives from other projects to be imported into the current alternative (see Figure 3 - 5). |
|
The Status button opens an information dialog for starting and checking simulation runs (details on the simulation runs can be found in chapter Start and control simulation runs) |
|
The Status button changes its appearance at the end of each simulation run and shows the status of the simulation run of the active alternative. |
|
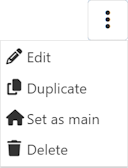
Via the More Options button the options Edit, Duplicate, Set as main and Delete can be accessed. |
To complete the creation of a new alternative, click the Create button (see figure 2).

Figure 2 - Create an alternative
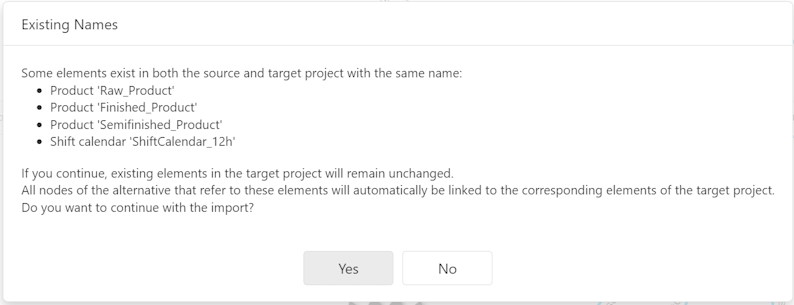
First, you must select a project from which to import the desired alternative. If one or more elements with the same name exist in the project to be imported, the dialog shown in Figure 4 is displayed.
After the import is complete, the respective alternative is appended to the end of the list of existing alternatives (Figure 5).
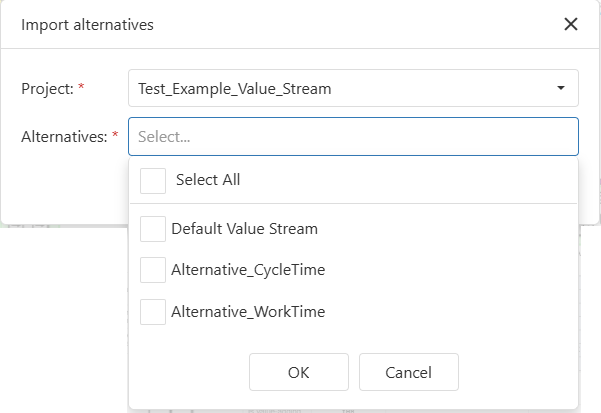
Figure 3 - Select and import alternatives
Figure 4 - Note products |
Figure 5 - Result import |
To edit an alternative, first select the desired alternative and then click on the Edit button in the options dialog.
The dialog shown in Figure 4 will appear, where a new name for the alternative can be entered and confirmed by clicking on the Apply button.
Using the context menu of value streams, the current modeling can be duplicated. A "_1" is appended to the name of the original. The duplicate is added to the list below the original.
By clicking, the selected alternative can be selected as a main alternative, which serves as the basis for the comparison of parameter values.
In the other alternatives, each parameter value is then compared with the corresponding parameter value from the main alternative.
If at least one parameter of an object has a different value than in the main model, an colored square icon is displayed above the object to indicate the deviation.
In addition, an indicator is displayed in the parameter sidebar for each deviating parameter and a reset function is offered (see general project settings section 6).
As soon as an alternative has been set as main, this is indicated in the sidebar by an house icon and a colored background.
The setting can also be removed in the same way. Only one alternative of a project can be set as a main alternative.
To delete an alternative, first select the desired alternative and then click the Delete button in the options dialog.
© SimPlan AG - Hanau District Court, Commercial Register (Part B) 6845 - info@simplan.de - www.simplan.de/en